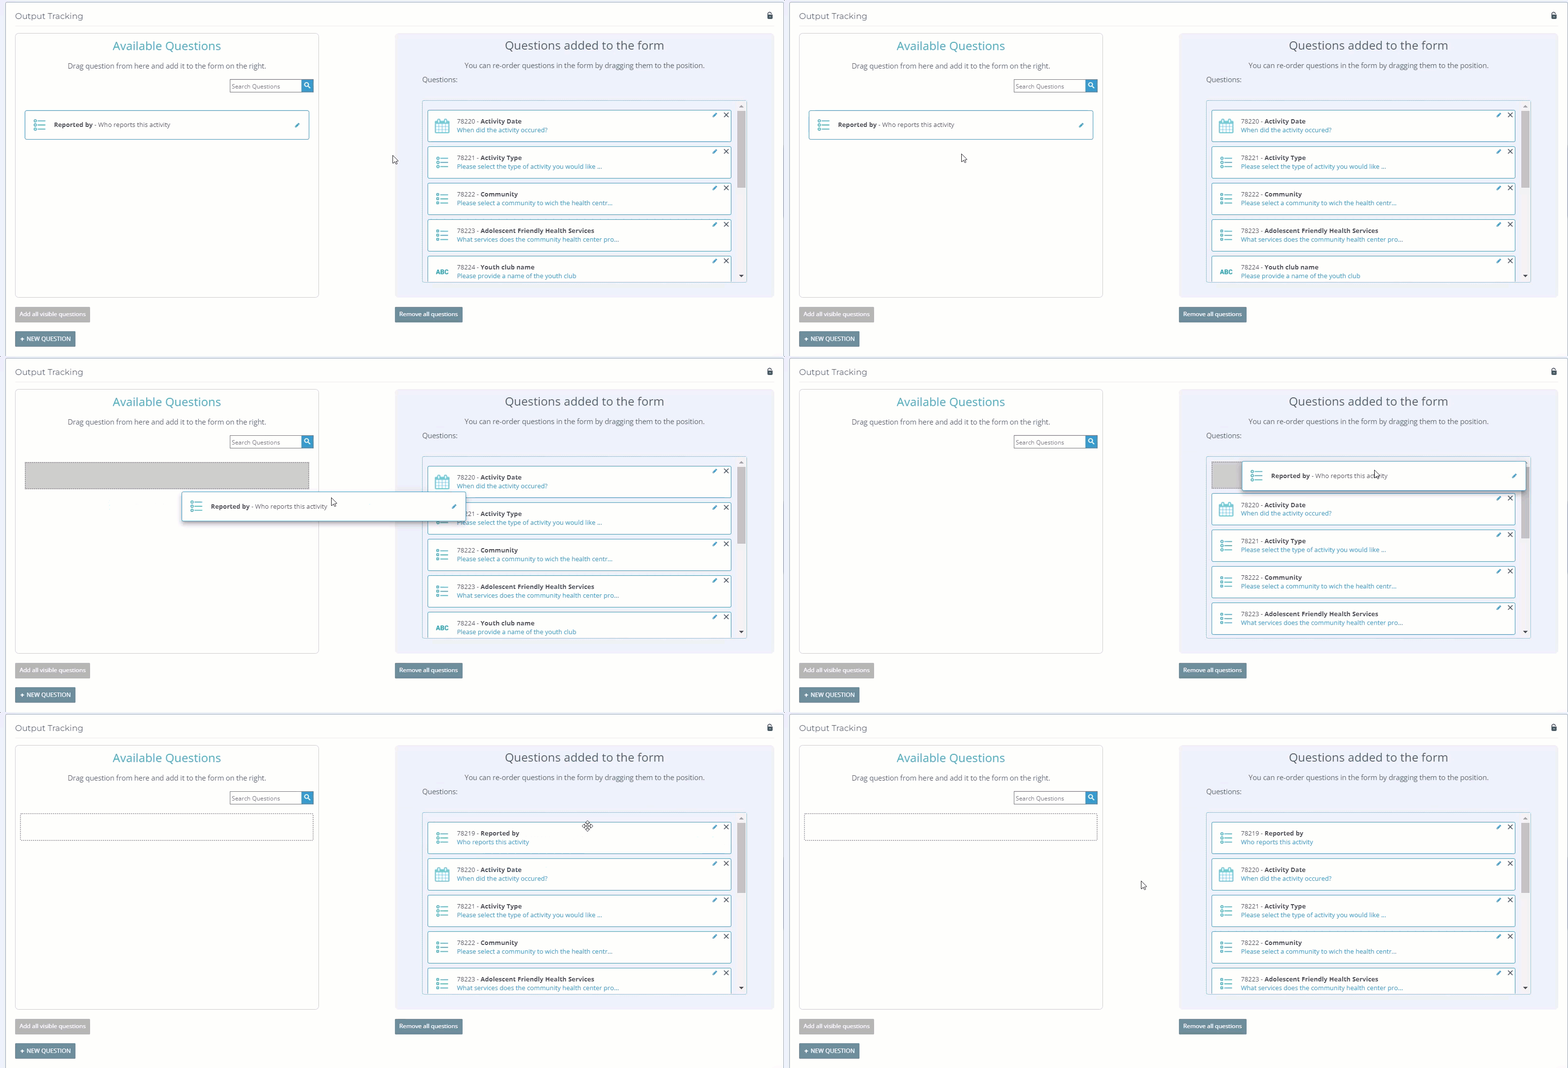
For Kinaki Online Forms, you can order the questions designed in the previous step before creating your custom logical flow (skip logic).
This can be helpful to discern which questions are relevant to include in each iteration or version of the online form.
Select the Design Form tab under Collect Data. On this page, you will see a list of all available questions for your data collection tool. Please note that only available questions will be present here, and some questions (such as items that have been previously deleted) may need to be adjusted using the Questions page.
On the left-side of your page, select from the list of available questions from the tool. Click-and-drag each question to the right-side of your page, under Questions added to the form. You can use this section to order your questions by using the click-and-drag feature.

If you wish to add all questions to your form, select Add all visible questions. This will maintain the order set by the Questions page, but can be changed by using the click-and-drag feature.
You may also want to add additional questions. This can be done from the Design Form page by selecting the Add Question button. The process for designing a question is the same as seen on the Questions page. To learn more about this process, visit this article in the Knowledge Hub.
If you wish to remove a question from the Questions added to the form section, select the X in the corner of the question box. To remove all questions from your list, select Remove all questions.
To edit the details of a question, select the pencil icon.
When you are satisfied with the added questions and their order, you can proceed to the Set Logical Flow to design your form in greater detail.
Remember: only questions included on this page will be available for the next page.

