Now that you have created a report, you can select which indicators you would like to see the results for.
You can do this in two ways:
1. Adding a single indicator to a Report or multiple Reports from the “Analyze Data” page.
2. Adding multiple indicators at once to a single report through the “Organize Report” tab.
Adding Indicators from the Analyze Data page
We’re going to go to the “Analyze Data” page to review how to add indicators to Reports after saving a calculation.
On the Analyze Data (1) page, select the appropriate Project from the drop-down menu at the top and then the Data Collection Tool (2). Next, select the indicator(3) you want to add to your Report.
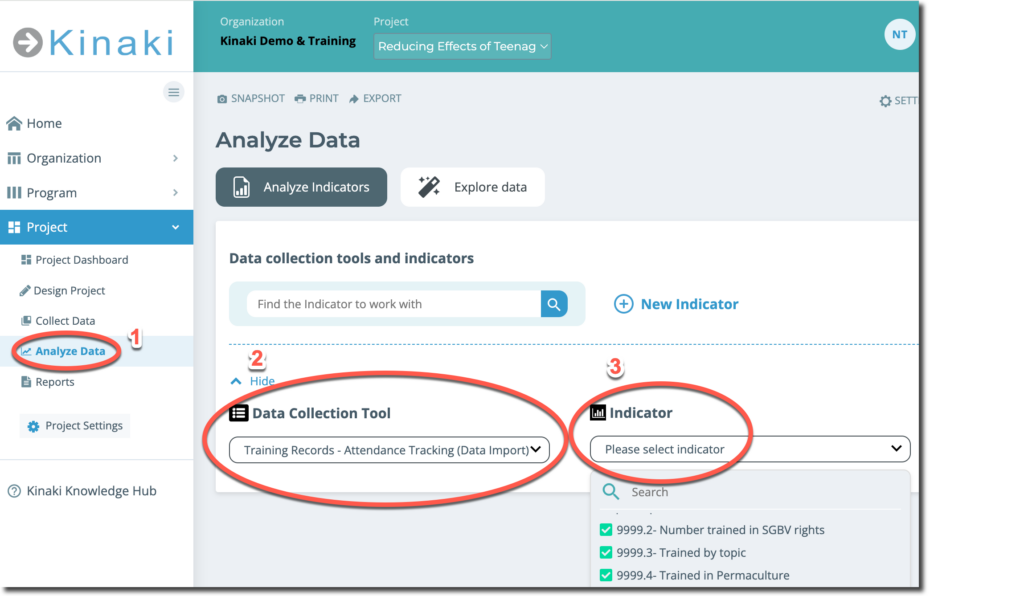
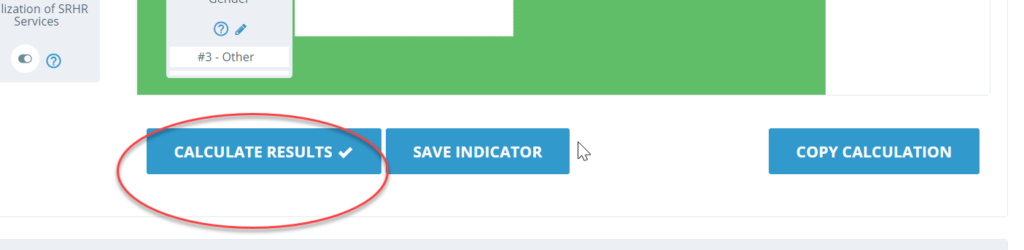
As details open up for the selected indicator, scroll down to select the “Questions and Calculations” tab. Choose your calculations, and then press “Calculate Results”. If you are happy with the calculation, you will need to click “Save Analysis” to add it to your report!
Need to review how to choose and set calculations? See our Analyze Data section of the User Guide for details.
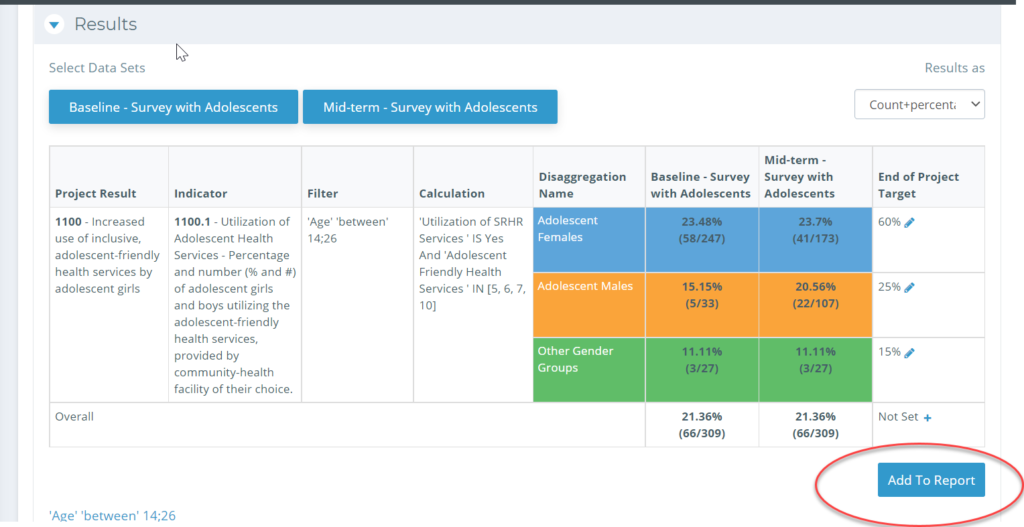
Click on “Add to Report”, at the bottom right-hand side of your page. (If the “Add to Report” button is grey, that means you haven’t yet clicked “Save Analysis” above.
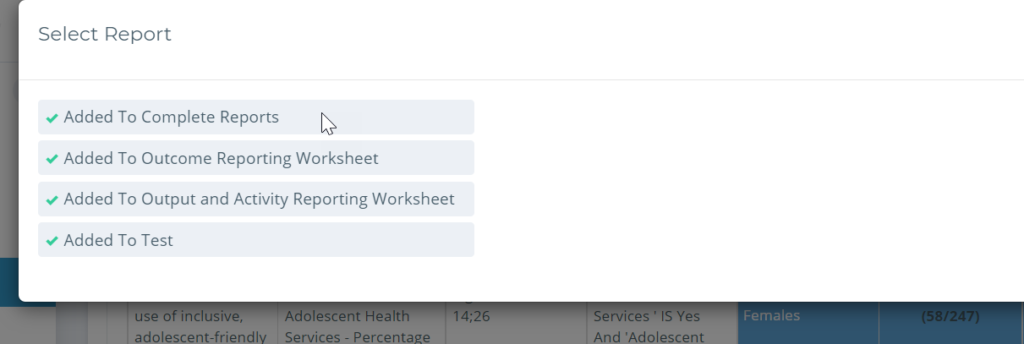
A pop-up window will appear where you can see all of the Reports available for this project and select which Reports you want to add this indicator to.
Now the selected indicator will appear in the chosen Report(s)! Which you can review on the “Reports” page.
Note:
1. You cannot remove indicators from reports on the Analyze Data page – you must do this from the “Edit Report” Settings on the “Reports page”, under “Organize Report”, which we will review in the next article.
2. Indicators that are added from the “Analyze Data” page will be added to the bottom of the Report. You can reorganize the Report later in “Organize Report” in the “Report Settings”.
Adding Indicators to Reports from the “Reports” Page
Let’s open the “Reports” page to review how to add indicators on the “Organize Reports” tab. Here you can add many indicators at once to a single Report or remove indicators from a Report.
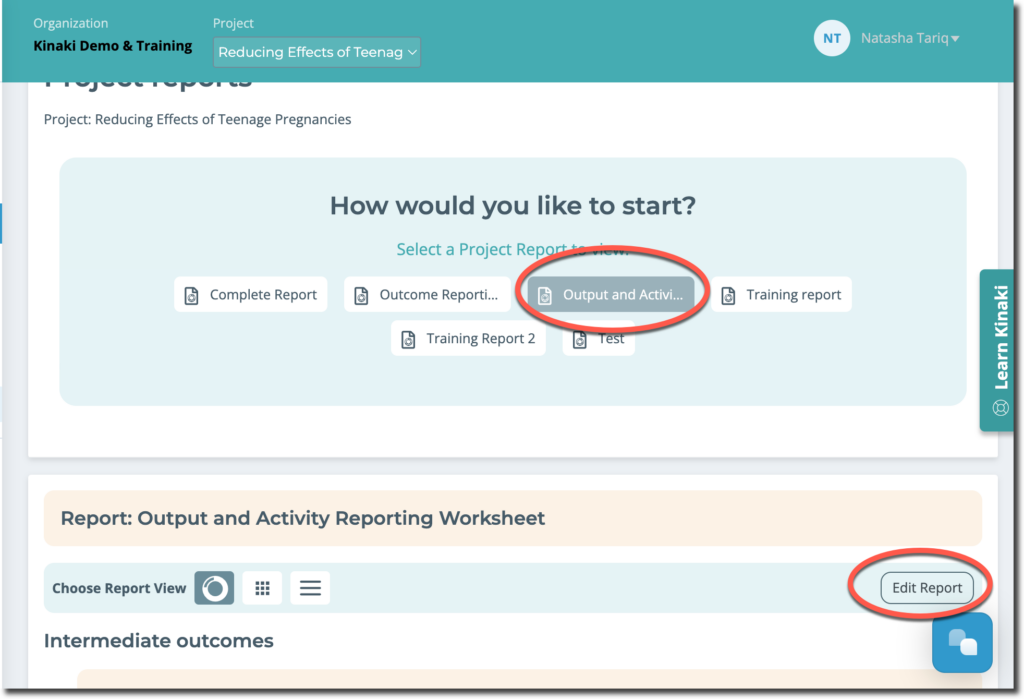
On the “Reports” page, select the Report that you want to add indicators to (it will be highlighted) and select “Edit Report”, this will take you to the “Report Settings”.
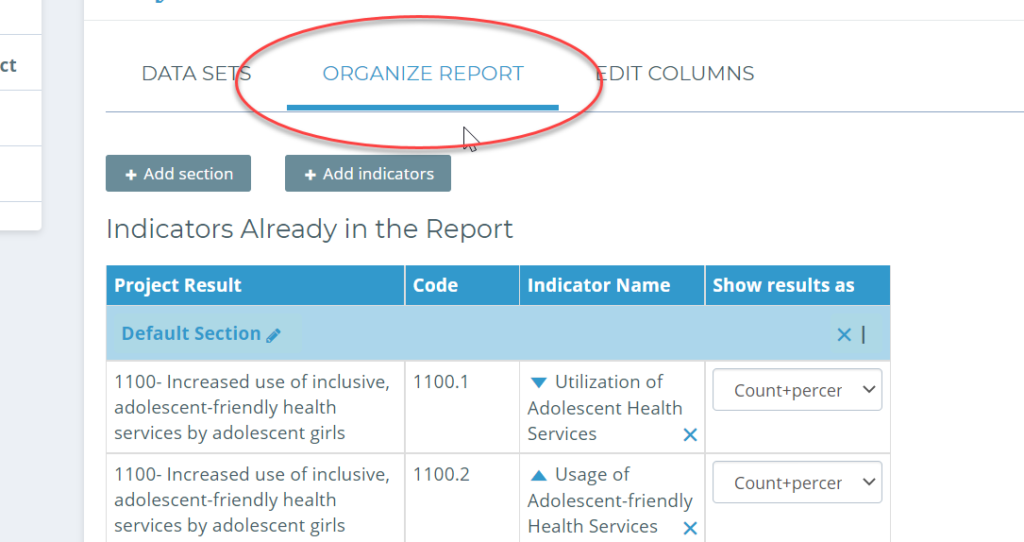
In “Report Settings”, select the “Organize Report” tab.
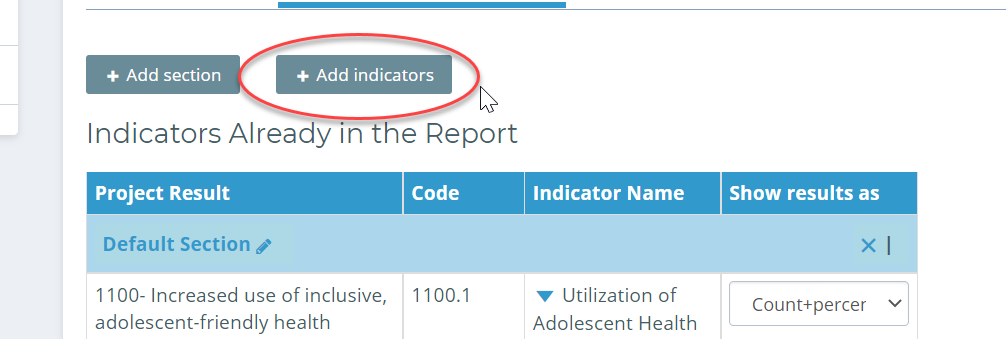
Then select the “+ Add Indicators” button.
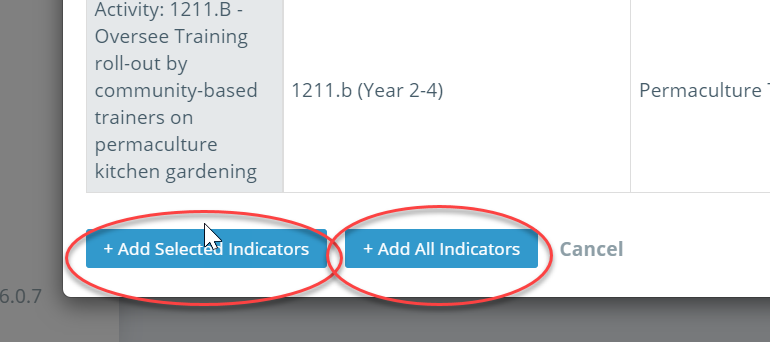
A pop-up window will appear with all the indicators for the Project. You can select the indicators you want to add to the Report. Confirm your selection by clicking ” Add Selected Indicators” at the bottom of the window. (You can also add all indicators to a report by selecting ” Add All Indicators”.)
Note: Indicators will be added to the Report in the order in which they’re listed in the ” Add Indicators” window. Any additional indicators that are added later will be added to the end of the Report. If you want to change the order in which the indicators appear you can do this later on the “Organize Reports” page.
Back on the “Report Settings” page, you’ll see all of the indicators that you have selected for your Report.
Now that you’ve identified the Indicators in your Report, it is necessary to link data in the report.
If your Indicators appear with incorrect values, you may need to change the format under “Show Results as” under Organize Report while customizing your project report.
Setting Indicator View in Reports
For each indicator in your report, you can set how the details appear, directly from the Reports tab. Click on the settings button highlighted below to choose your view settings!
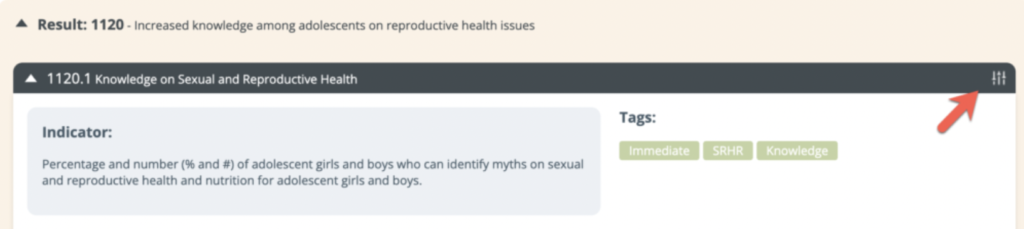
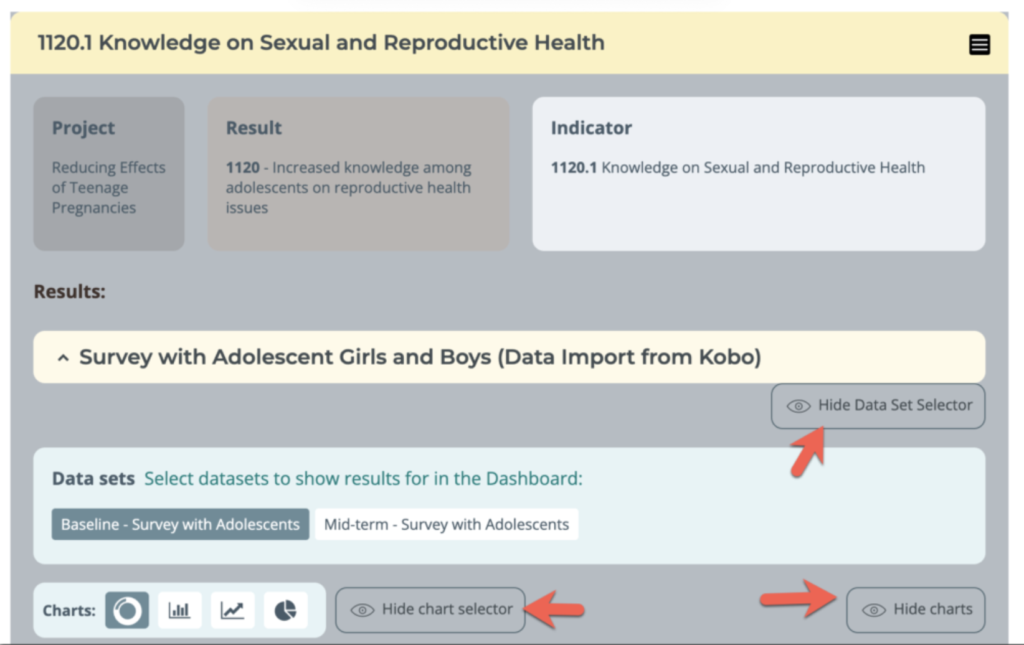
Click on the button and select how you want the details to show up, in the window. The image below highlights some of the options.
Note: The settings you choose for an indicator here, will apply to all reports to which this indicator is added. This will be the global setting for this indicator; you can’t choose different settings for each report.
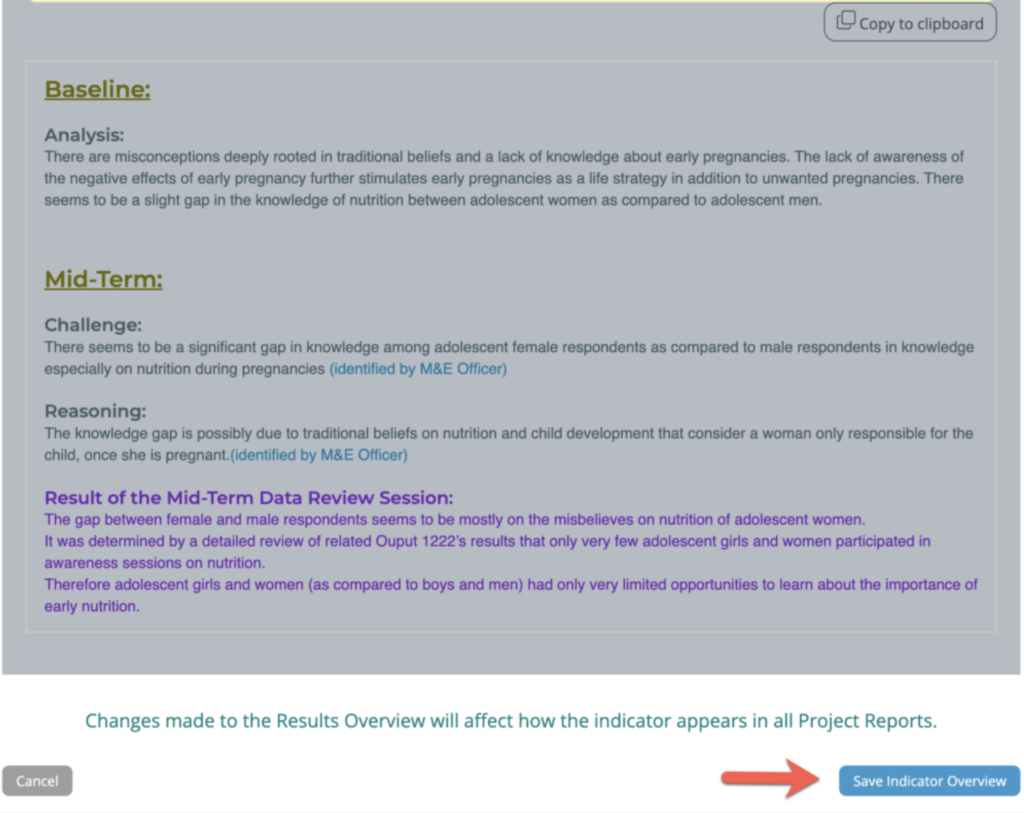
After selecting your options, scroll down and click on ‘Save Indicator Overview‘.
Well done! Your project report is looking great!
Check out Chapter 2 of this video to learn more!