Organizations use Kinaki’s Online Forms for a variety of purposes, for example, to send an online survey to a group of participants or to collect activity/output data from project staff on a monthly/quarterly basis. Data entered in the online forms will automatically appear in Kinaki.
Project and Organizational Admins in Kinaki can create Online Forms and will share the link with others and request that they complete the forms.
Previous articles in the series focussed on how to create Kinaki’s Online Form. Let’s learn how to enter data in the form! This article is especially useful for staff who just receive the link to enter data in the form, and are not involved in setting up the form.
Accessing an Online Form
Online Forms are accessed via a URL link. It will look like this:

The URL link may be public, password protected or require you to log-in to Kinaki to complete the form.
When you open the link, you will be brought to the first question in the Online form:
Filling Out an Online Form
When you have opened your Online Form you will be taken through the form question by question.
There are many different question types in Kinaki. The person who designed the form will have selected the most appropriate question type for the data being entered. For example, some questions may be multiple choice, selecting from a drop-down menu, entering a date, entering free text, etc.
Online forms have “skip logic”. Skip logic is a feature in survey design that allows the person designing the survey to create a customized path for respondents based on their previous answers. With skip logic, certain questions or sections of a survey are skipped over, depending on the response to a previous question. For example, if you are filling out a survey about the number of people trained in a specific activity, you may first be asked to respond to a question about which activity you are entering data for, then you will be taken to next relevant question related to that specific activity. This makes filling out the form more efficient and reduces errors in data entry.
Let’s look at some examples of questions in Online Forms:
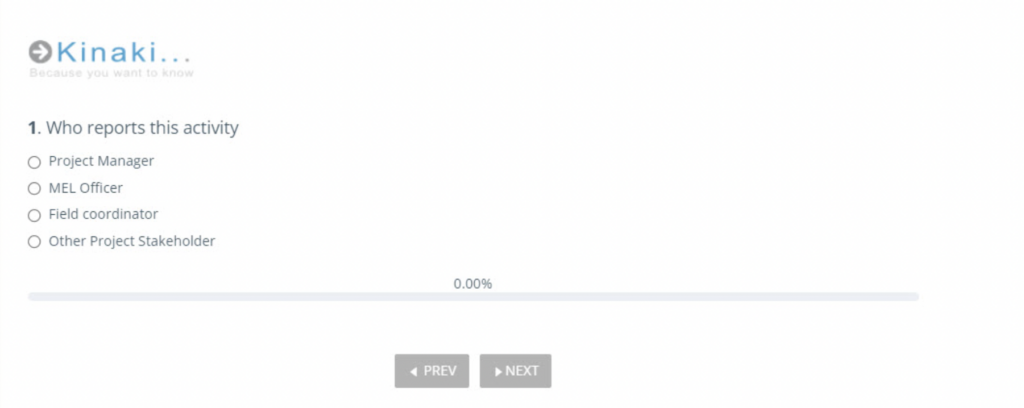
1) Below is a single choice question used to determine who is entering the data for a specific activity

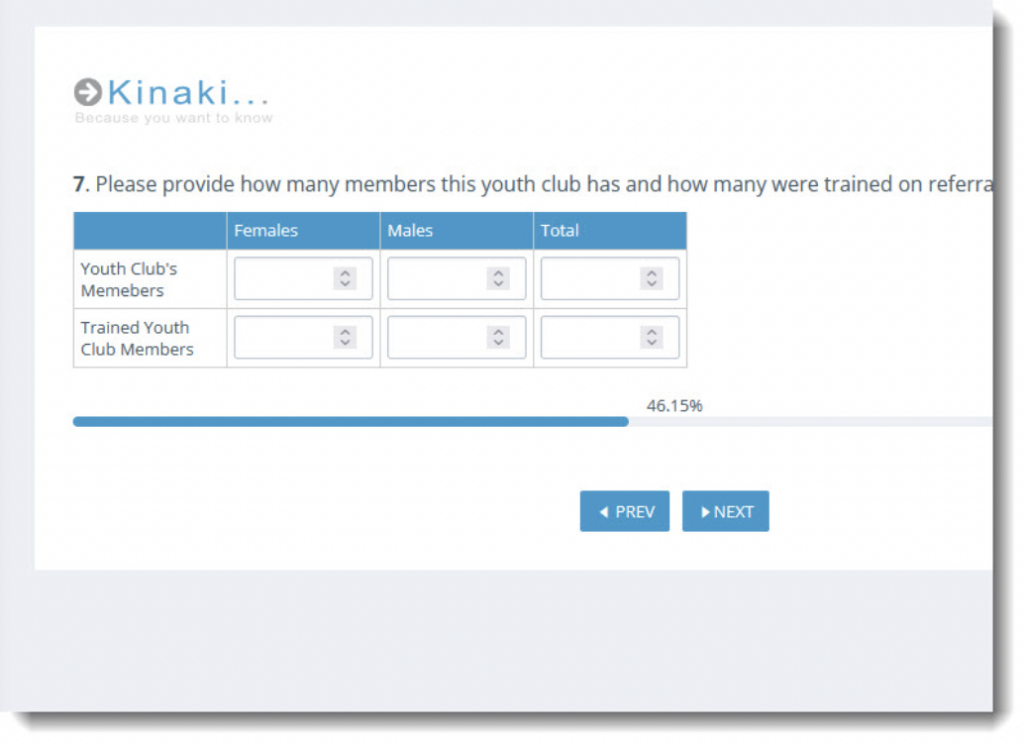
2) Below is an example of a Grid Number question. Pro tip: Instead of leaving a field blank, enter “0” if there were no participants in an activity so the person who is reviewing the data knows that the question was not accidentally skipped
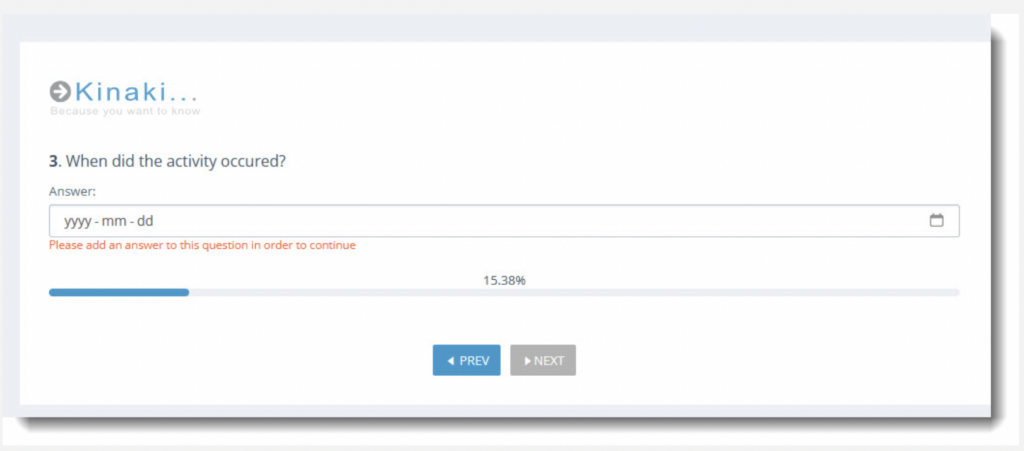
3) Below is an example of a “Date” question where you might be asked to select the day on which an event occurred or the date you’re entering data
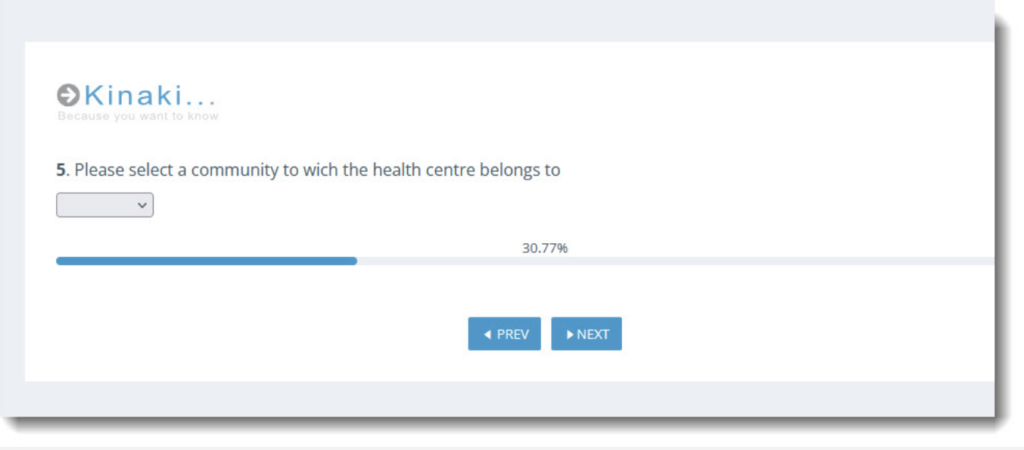
4) Below is an example of a “drop-down menu” question. The menu will be pre-filled with options to select from
5) Below is an example of a “Multiple Select” question type, where you can select more than one option from the choices listed:
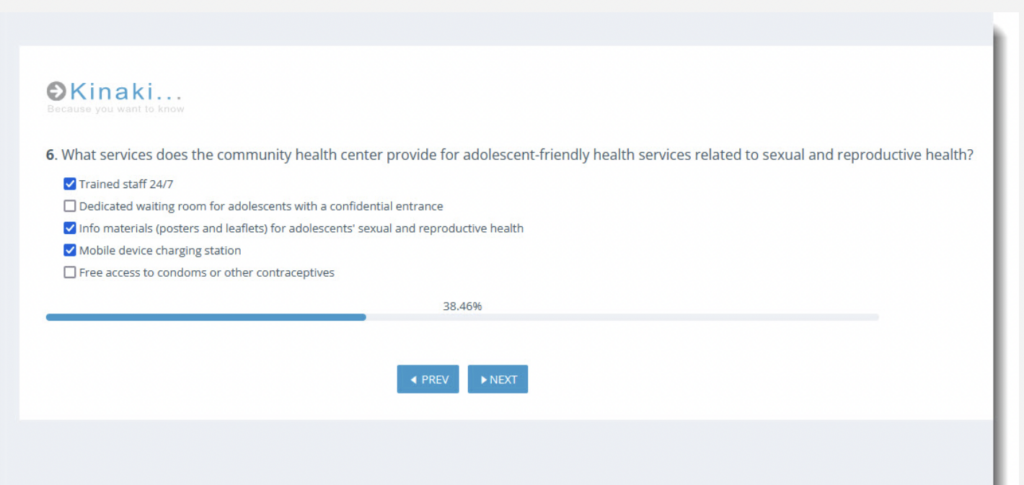
Completing Your Online Form
You proceed through the Form by pressing “NEXT” after each response (depending on the design of the form, some questions require a response before you move forward, and some you may be able to skip). If you realize you have made an error, click “PREV” to return to the previous question. You will see the progress bar on the form to have an idea of how much of the form you have completed and how much remains.
Be sure to click “SAVE RESULTS” at the end of the form to ensure that the data you entered is saved. If you do not click “Save Results” and you close the Online Form, your results will not be saved.
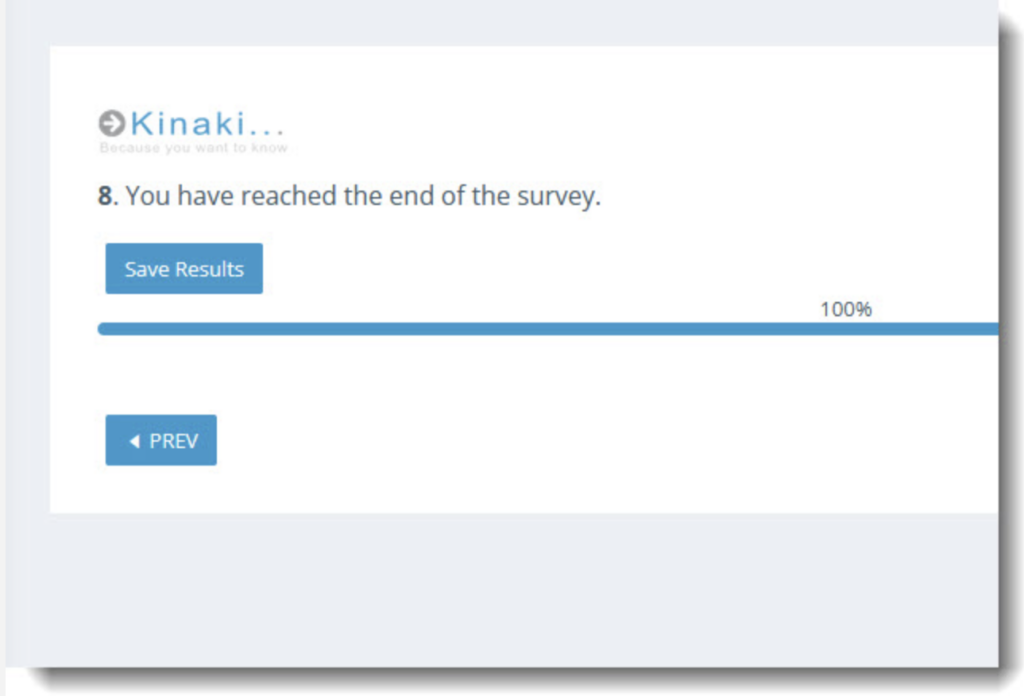
The data you provide in the Online Form will be used by your Project Admin to calculate the indicators connected to those questions in Kinaki. For example, the data may be used to calculate the total number of participants in a training that is linked to the indicator for a project output. You may fill out the same online form on a regular basis so the data can be aggregated over time.
If you realize you have made an error in a completed Online Form, contact your Project Admin. They will be able to access the data set and make changes, or delete it so you can resubmit the correct data.
If you are a Project Admin, you will be able to correct the data set under the Data Management page, follow the instructions in the Knowledge Hub.


