Selecting an Indicator to Analyze (or creating a Personal Indicator)
Now that you have your data sets submitted, you can go to the “Analyze Data” section in Kinaki and select an indicator to analyze.
First, select “Analyze Data” from the main menu (1), then make sure that you have the correct Project selected on the top menu (2), then choose the Data Collection Tool and an indicator that you would like to analyze (3):

Note: these indicators were designed under the “Design Project” section of Kinaki (you can review those steps in the Knowledge Hub), if you need to add a new indicator now, you can select “Add new indicator “” and add the details here. If you select the box next to “Personal Indicator”, this indicator will only be visible to you. If you are a Project Member this box will be already selected.

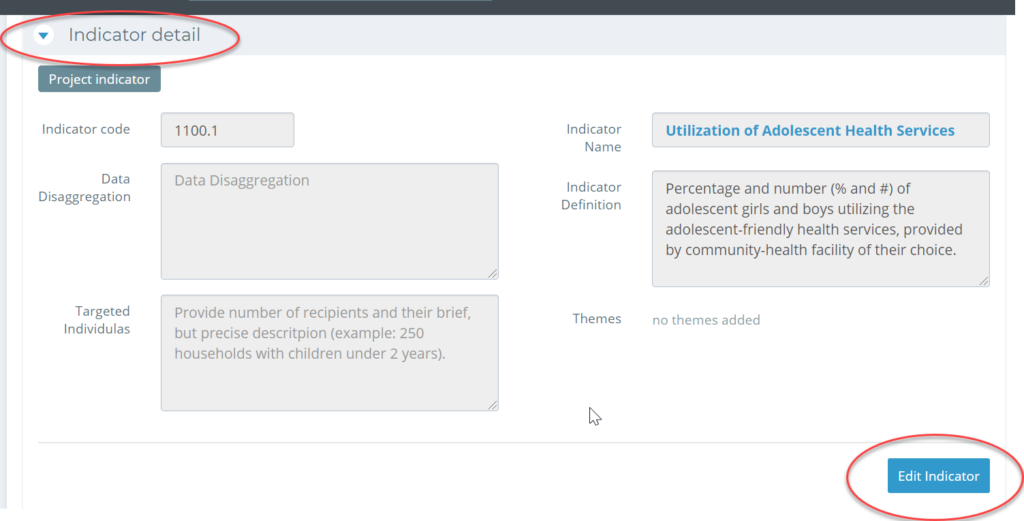
Once you have an indicator selected, the Indicator Detail tab will open. This also gives you the opportunity to edit your indicator details – just choose “Edit Indicator” button from the bottom right-hand side of the tab.
Note: If you are looking for a particular indicator but unsure which data collection tools it is associated with, try looking for it under Design Project > Indicators. There you will find the list of all indicators and detailed information such as the associated data collection tool.
Next up, we will dig into identifying some questions and calculations to analyze the chosen indicator.