Now that you can create a Program, let’s learn how to navigate through the Program Dashboard!
The Program Dashboard gives you a lot of useful information at a glance. To get to the Program Dashboard, make sure you have selected the correct Organization and Program from the selectors on the top menu.

Then, select Program from the Main Menu on the left-hand side of your screen, and select “Program Dashboard” from the drop-down list.

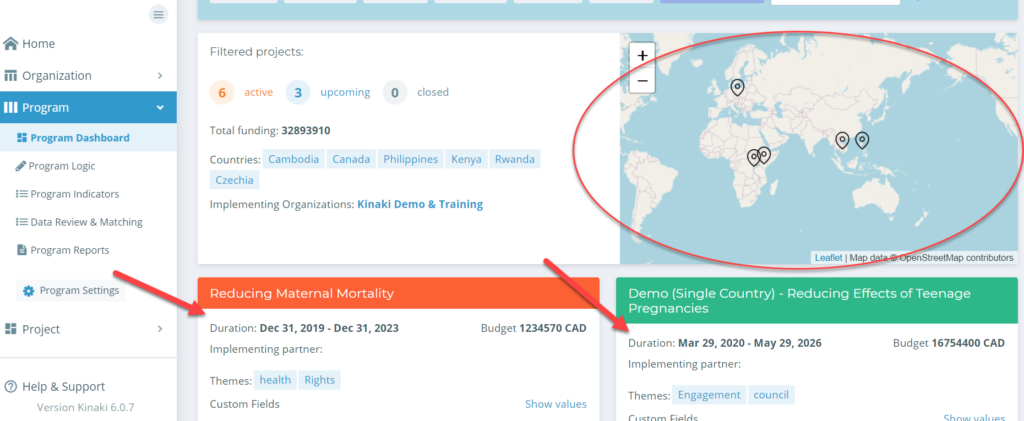
The Program Dashboard is where you can see a snapshot of all the Projects under the Program You will see the individual Project tiles with the Project details. An interactive map gives you an overall glance at the locations of all your projects.
Upload Program documents to the dashboard for your team to see, or view ones that have been added by your admin team.
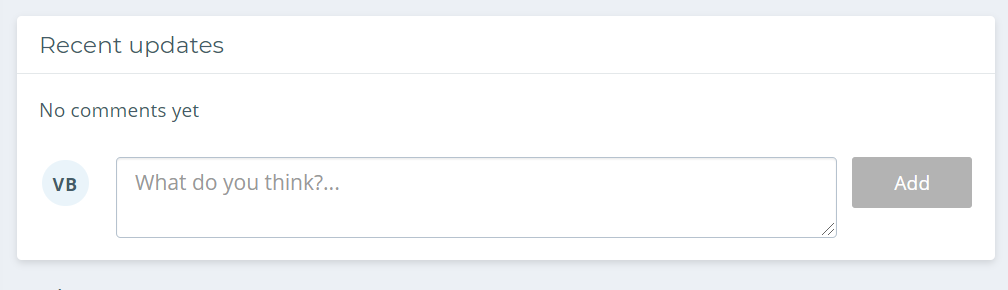
Here you can also see all the comments in the Program added by your team and add comments yourself.
You can view all your Projects at once, or you can filter by different categories – choose your Project, view them by theme, country, budget, donor, or your custom fields.
Note: To get to the Project Dashboard of an individual project from the Program Dashboard, just select the project name on the Project tile and it will bring you to the Project Dashboard. You can change Project details in the Project Settings and your changes will be saved and reflected on the Programs page.
Next, let’s look at the Program Logic.